Showing posts with label BLUE. Show all posts

Wednesday, August 1, 2012

China Glaze Sea Spray

I was in the mood for some more demure shades so I searched through my stash and came up with China Glaze Sea Spray! Sea Spray is from the China Glaze Anchor's Away collection and is a gorgeous blue grey polish.

One coat of Sally Hansen Triple Strength base coat and two coats of Sea Spray. Application was flawless and very smooth. I finished with one coat of Revlon Colorstay top coat.

Some pictures!

China Glaze Sea Spray in Artificial Light
China Glaze Sea Spray in Shade
China Glaze Sea Spray in Natural Light
Love, love, love this! Oh so much! I actually didn't want to take this off! I've shortened my nails a bit more and I think it looks gorgeous on this shorter length. My only complaint is that when the polish is wet there is this gorgeous blue silver shimmer all throughout it but once dried it almost completely disappears :( Definitely can't wait to try this one again!


dfgdfgdfg

Wednesday, May 9, 2012

Color Club Shabby Drab

I loved Uptown Girl so much I decided to chose another polish from Color Club. So out came Shabby Drab from the Back To Boho collection :) Shabby Drab is a dusty dark periwinkle blue that is simply stunning!

I used a case coat of Revlon Calcium Gel Nail Hardener (I'm determined to get through this bottle) and then two coats of Shabby Drab. Application was perfect! Then I finished it off with Sally Hansen Mega Shine top coat.

Let's let the photos speak for themselves :)

Color Club Uptown Girl in Artificial Light
Love this shot in the shade!

Color Club Uptown Girl in the Shade
 It has been crazy overcast and raining non-stop lately but a few days later I finally got these photos in the sunlight so please ignore the tip wear O_o

Color Club Uptown Girl in Natural Light

I'm loving these beautiful dusty colours! I knew I loved cremes but not I think my favourite is dusty cremes :) All I have to say is that this is just such a lovely colour!!

Friday, March 23, 2012

Ulta3 Blue Heaven

I chose another Ulta3 nail polish from the Gelato collection. This time I chose Blue Heaven, a gorgeous blue creme, since I plan to use it as a base for another polish.

I applied a coat of OPI Nail Hardener for my base coat then followed it with two coats of Blue Heaven. Blue Heaven applied much the same as Mango Mayhem. The brush was still too thick collecting too much polish and the formula was also thick like Mango Mayhem. Again when I finished the two thick layers it was uneven and dried to that same vinyl/semi-matte finish. My bottle also has these solid white particles that I mostly picked up in my first coat so thankfully they were covered with my second coat but no matter how much I tried mixing the contents I couldn't get rid of them :( I applied Sally Hansen Mega Shine top coat and as with mango Mayhem the top coat worked to smooth the polish giving it an even finish *sigh of relief*. I used Sally Hansen Insta-Dri Drops to hasten the drying time of my top coat.

I took these photos straight away that night in artificial light.

Ulta3 Blue Heaven in Artificial Light
The following morning I took photos in the natural sunlight. I'm surprised that you can't clearly see where I whacked my index finger after taking photos the night before. Yay lol!

Ulta3 Blue Heaven in Natural Light
And then this lone photo in the shade :)

Ulta3 Blue Heaven in the Shade

I really love this colour, well blues in general! Blue Heaven is a gorgeous sky blue creme and with a top coat the finish looks fantastic - not bad for a AUD$2 nail polish :) Both the Ulta3 nail polishes I have tried dried very quickly on their own, probably because they dry to that semi-matte/vinyl finish.

Wednesday, March 7, 2012

OPI Go On Green

I was in the mood for some green! So I chose OPI Go On Green from the Brights collections. Go On Green is a gorgeous duochrome that shifts from light blue to green.

I applied one coat of OPI Nail Hardener as my base coat. Then I applied three coats of Go On Green which was very sheer. I found the application very easy - the brush was easy to control and although thin the formula was still easy for me to work with. Then I applied a coat of Seche Vite to seal the manicure.

These photo's were taken in artificial light.

OPI Go On Green in Artificial Light

Then the following day I took these photo's in the natural light.


OPI Go On Green in Natural Light


I adore this colour! Each time I see this colour it instantly reminds me of mermaid scales.I really can't wait to try this over black, I think it will make the colour 'pop' even more! I really love this colour but it is very sheer and seemed to pull away from the edges of my nails before I put my top coat on.

Wednesday, January 25, 2012

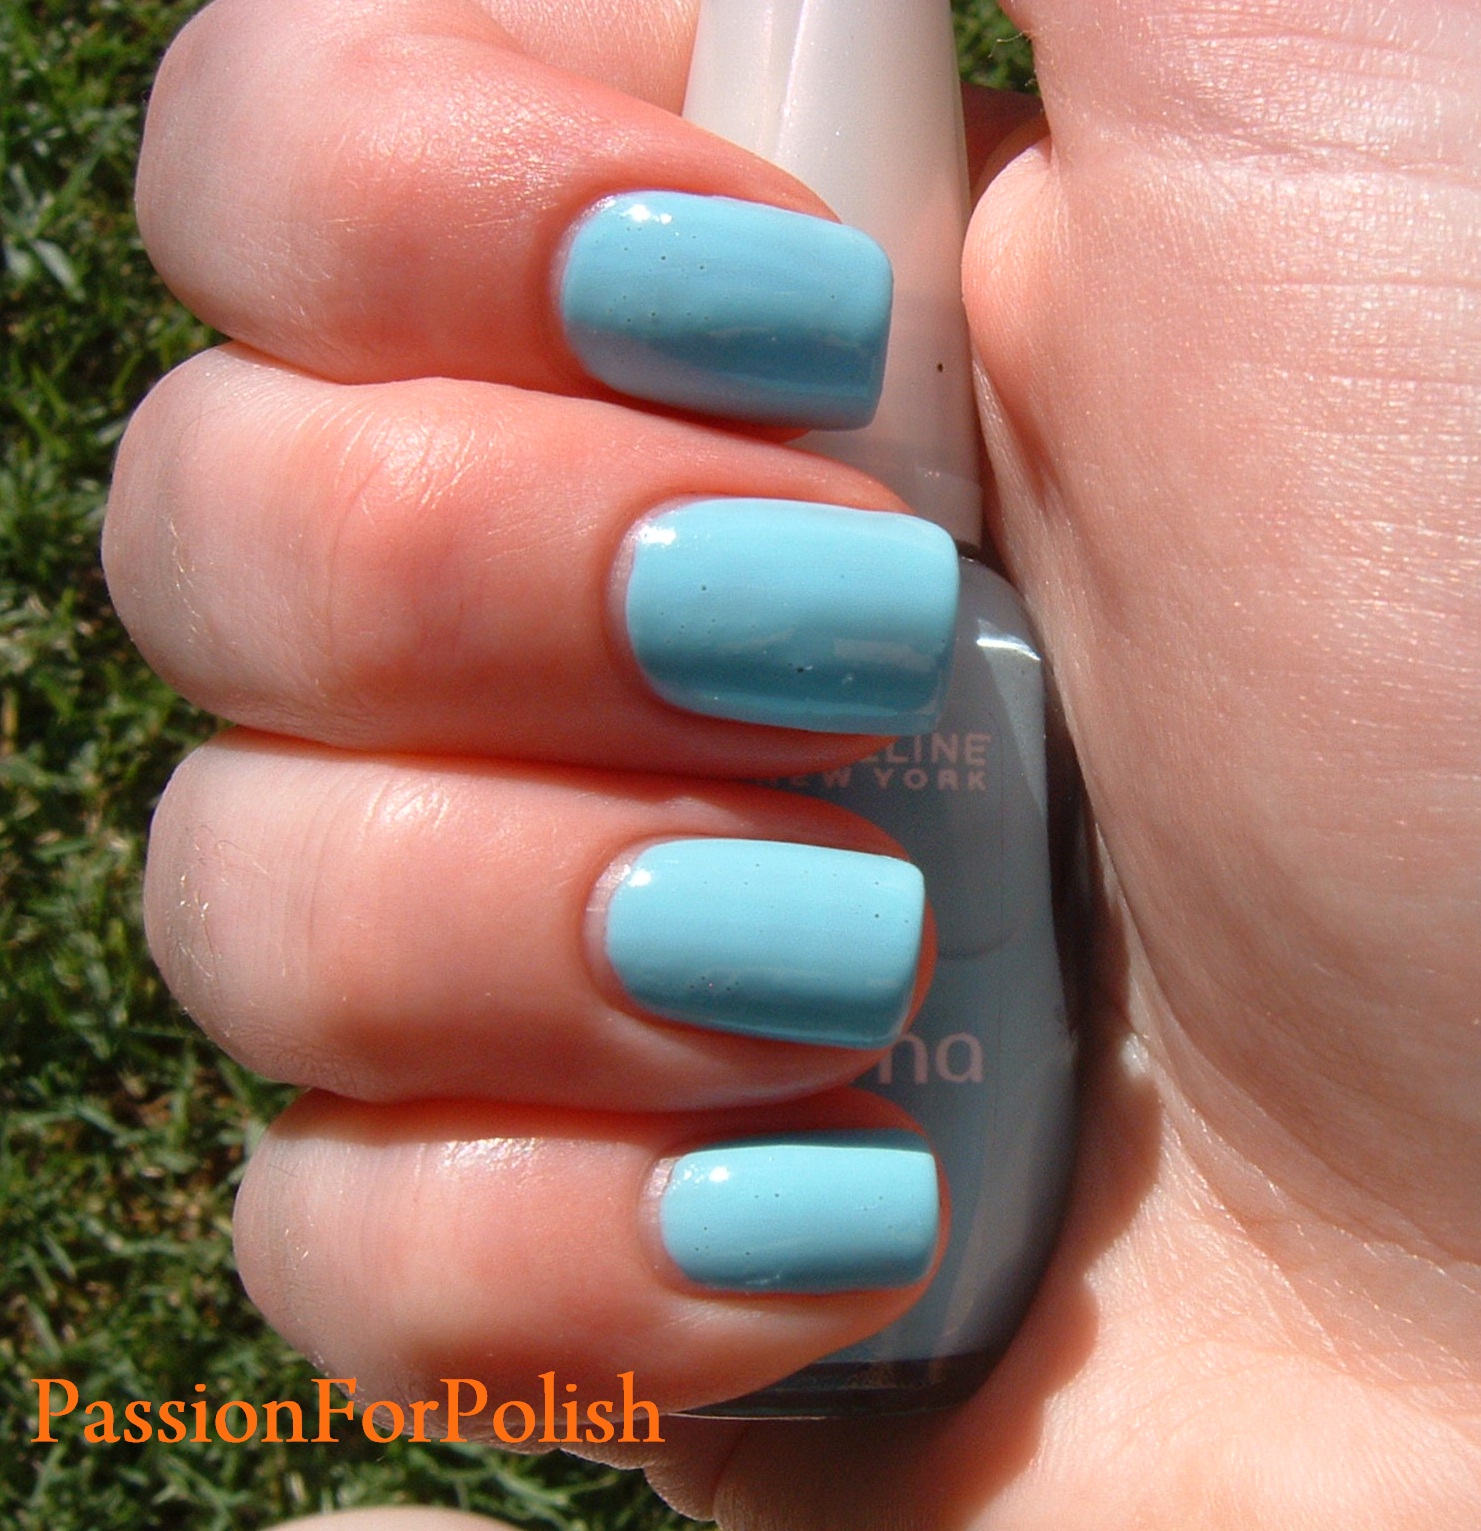
Maybelline Party Blue

With all this sunshine I wanted to do a nice summery colour and I chose Maybelline Party Blue from their Mini Colorama collection. I applied one coat of Revlon Quick Dry base coat. Then I applied two thin coats of Party Blue but it probably could've used three coats. It is an especially watery nail polish and was very difficult to control. Application was quite the PITA! It's such a pity the formula is so terrible because its a beautiful colour. To maintain the intensity I used Sally Hansen Mega Shine top coat. Some Sally Hansen Insta-Dri Speed Dry Drops and my manicure was ready to go in no time!

The following photo's were taken after I finished in artificial light.

Maybelline Party Blue in Artificial Light

 
 Maybelline Party Blue in Artificial Light


Then I took some photo's in the natural light while the sun was still shining.

  Maybelline Party Blue in Natural Light 

   Maybelline Party Blue in Natural Light


Party Blue is a gorgeous pastel blue creme with amazing vibrancy. It's that classic adorable blue colour. The bubbles present aren't from Party Blue but from the Mega Shine top coat. To me this colour screams spring, but the 38°C heat when I was taking the photo's kept me very aware it's summer!

Thursday, December 29, 2011

China Glaze Dorothy Who?

I wanted to change my manicure to something sparkly in preparation for the New Year. But first I had to remove Glittering Garland which wasn't exactly the smooth removal I had been hoping for. Due to the large amount of microglitter in the polish the removal was a bit more involved that usual. As I was attempting to remove the polish, the left-over microglitter made the surface feel like sandpaper and was determined not to come off. First I tried using Sally Hansen Polish Remover, which I usually use when konading as it doesn't leave a film on my plates, but it barely removed any of the polish. Determined I grabbed my Jessica Nail Polish Remover and tried that instead. Thankfully it was a success and, applying some pressure, Glittering Garland finally came off!

Thinking I wanted something as glittery and sparkly as possible I grabbed China Glaze's Dorothy Who? from the Wizard of Ooh Ahz collection. Dorothy Who? is an intense blue jelly packed with light blue and silver microglitter. To begin with I used Revlon Quick Dry Base Coat followed by two coats of Dorothy Who?. The first coat gives a transparent light blue jelly with microglitter but the second coat gives a vibrant opaque blue jelly base with plenty of microglitter. I had problems with the formula of this polish being on the watery side so I did relatively thin coats in an attempt to control the fallout. I found it frustrating because with the formula being watery I had to use less polish on the brush. Then when I would return with more polish to finish the nail the brush would pull the polish already on the nail as it was quickly drying. So it was a balancing act between working slowly to control the thin polish and working quickly before the polish began to dry. Let me tell you all this trouble was definitely worth it!

I sealed the manicure with a coat of Seche Vite Dry Fast Top Coat to even out the microglitter and then used Sally Hansen Insta-Dri Drops to speed dry it. Then once set I took the following photo's that night under artificial light.

China Glaze Dorothy Who? in Artificial Light

China Glaze Dorothy Who? in Artificial Light
See how perfectly Dorothy Who? translates onto the nails. Not to mention just look at all that mouth-watering glitter! 

The following day I took photo's outside in the blasting summer heat. In 38°C heat the sun was most definitely shining giving me the perfect opportunity to show case the beauty of Dorothy Who?.

China Glaze Dorothy Who? in Natural Light

 China Glaze Dorothy Who? in Natural Light

I bought Dorothy Who? from Nailetc as a single polish order. It took three weeks to get from the US to Australia via First Class Shipping. What I love about Nailetc is that with each order, even if you purchase only one polish like I did, they give you a code for a 10% discount off your next order!

I chose China Glaze Dorothy Who? because I wanted a sparkling sensation, a glitter-bomb, and that's exactly what I got! I am absolutely intoxicated with this colour! It's just so eye-catching and even as I write this I keep finding myself following the sparkling of my nails and stopping to admire them. Distracting but SO worth it! Along with Glittering Garland this has become one of my favourite polishes - shining blue, glittering silver - I ask you, what's not to love!