Onto the tutorial!
All you need is:
- Nail Polish - a base colour
- Nail Polish (can use more than one) - one coater nail polish
- Scissors
- Scotch Tape

Step 1: Apply your base coat and then however many coats of the base colour you desire.

Step 2: Cut ten pieces of scotch tape and attach them to the side of some, such as a bench, to make it easier to work with them.

Step 3: Decide upon the type of design you are hoping for and then cut that design into the ten pieces of scotch tape.

Step 4: Ensure that your base colour is completely dry. This is very important because otherwise when you place the scotch tape down it will pull up your nail polish base colour. Place the piece of scotch tape design you are about to use onto your palm to remove most of the "stickiness". You can do this before you cut your design if you wish. This is a very useful step I picked up from Chloe at Chloe's Nail.

Step 5: Then place the scotch tape design onto your nail in the position you want it. Once it is placed where you want it press the scotch tape down onto your nail securely. As the tape is clear you can see where it is secured to the nail and where there are still gaps. I prefer to tape all of one hand at once but some suggest to do only one nail at a time. You will have to decided which way you prefer.


Step 6: After placing the scotch tape design paint your nail with a one coater nail polish. You need to pick a nail polish colour that is opaque in one coat because once you paint it you need to lift the tape immediately up, which you cannot do if you need to add a second coat.
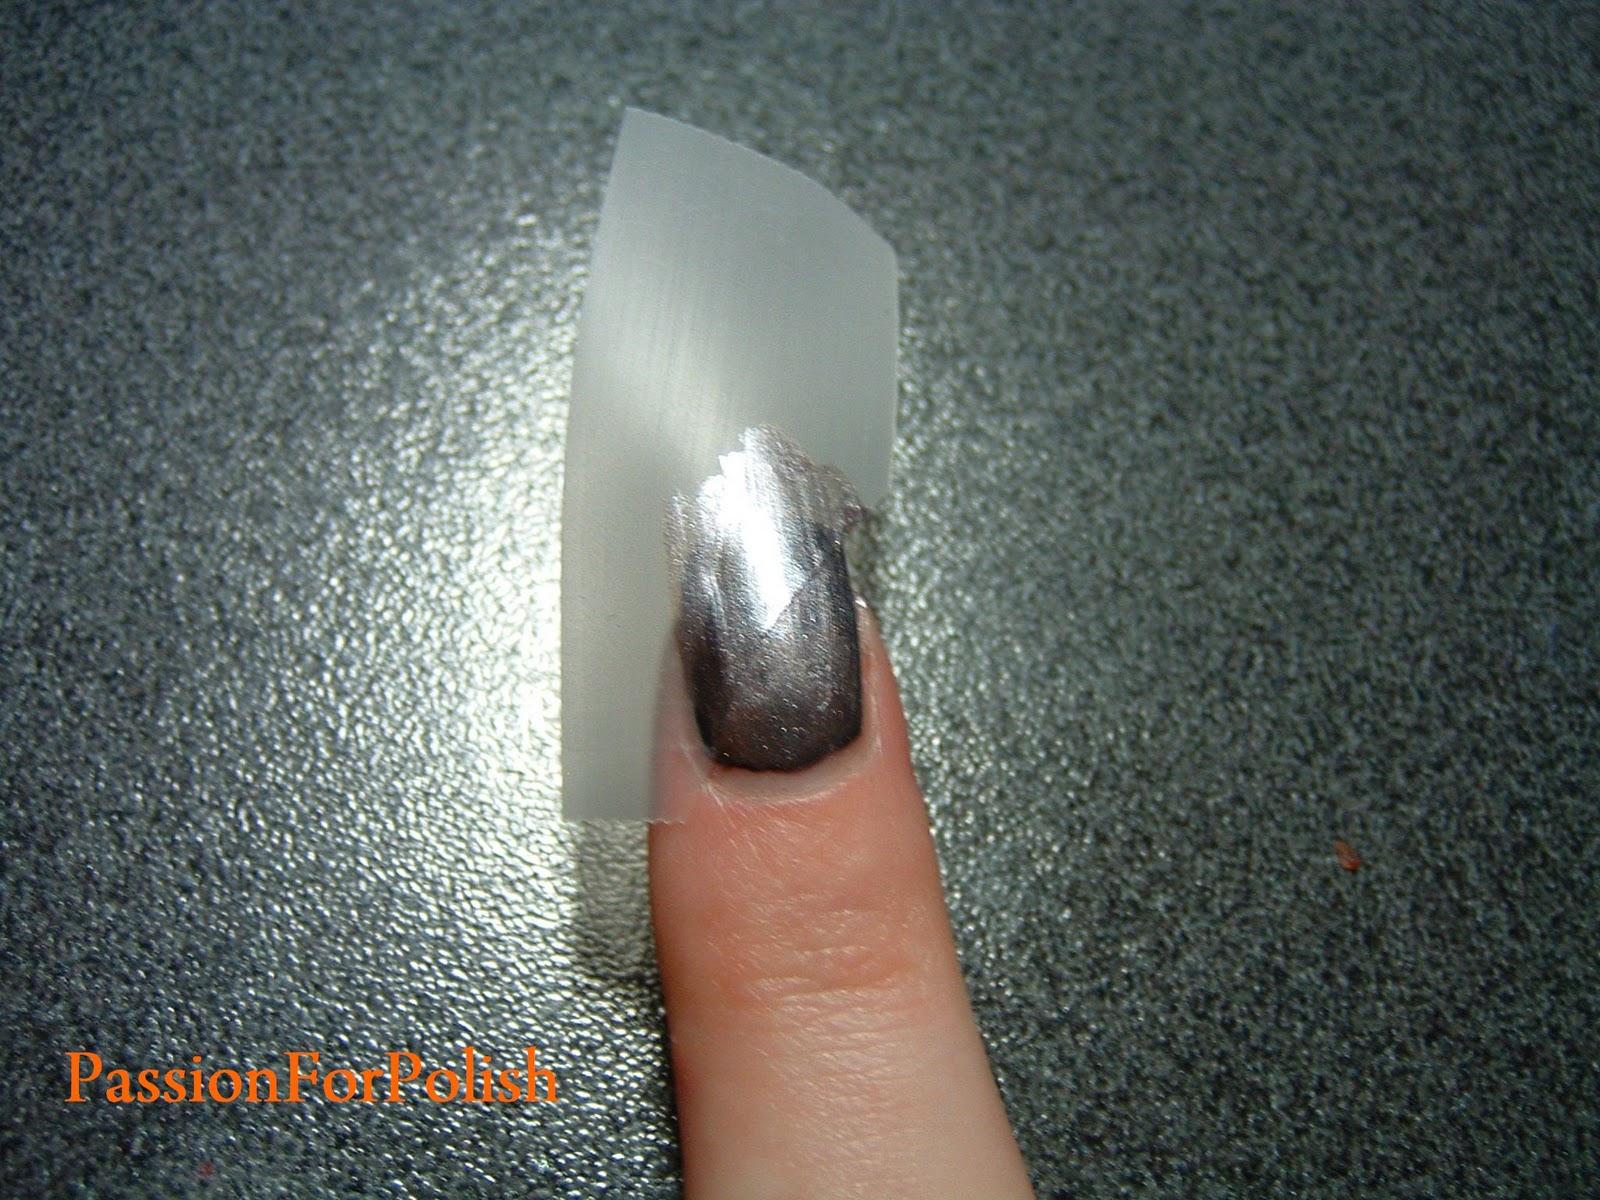

I forgot to take a photo when doing the tutorial so I used one from my Half N Half mani
Step 7: I quickly move from one nail to the next painting my entire hand and then start at the first nail again and slowly remove the scotch tape.


Step 8: Once you have done all your fingers add a top coat and you're done! I did mine very quickly so it isn't even close to perfect but from a distance it still looks amazing!

If you want to use several colours for your different scotch tape design sections merely wait until the first section has dried and then repeat Steps 2-7 .
How easy is that! I'll add designs to this page as I do them.
For many more designs see Chloe, the queen of Scotch Tape mani's, tutorial at Chloe's Nails.
Triangle Base Mani

Half N Half Mani


This is great! Thank you! :)
ReplyDeleteSo that's how it is :)
ReplyDeleteThanks for this.
<3
<3
<3
♥
♥
♥
FACEBOOK PAGE: http://www.facebook.com/pages/SHAY-3/218290291526387
TWITTER: http://twitter.com/shailey4
I love using scotch tape for nail art! They pretty much always come out perfect! I did one of these on my blog you may like to look at
ReplyDelete